Installing AAC blocks the right way is crucial for long-lasting, energy-efficient, and eco-friendly construction. Whether…

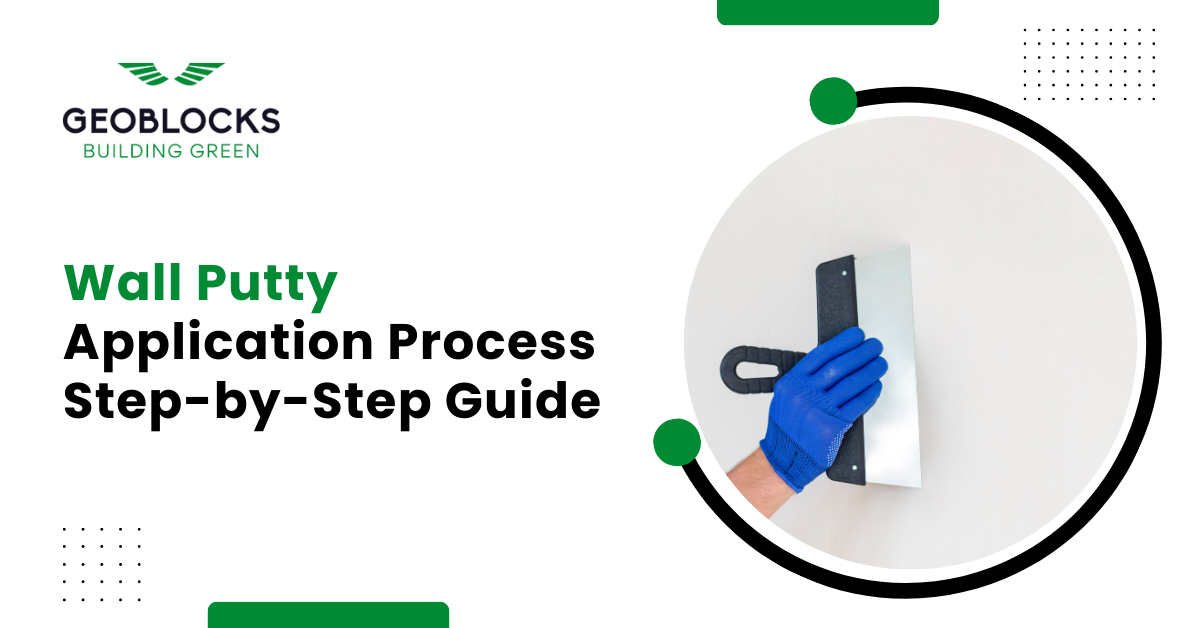
Applying Wall Putty is essential for achieving a Smooth and Durable Finish on Walls before Painting. Wall Putty not only Enhances the Appearance of the Paint but also improves its Longevity. This Step-by-Step Guide will walk you through the Wall Putty Application Process, ensuring you get the Best Results. Let’s delve into the Details and Understand How to Use Wall Putty Effectively.
What is Wall Putty?
Wall Putty is a White Cement-based Fine Powder that provides a Smooth and Even Finish to the Walls. It fills in Minor Cracks, Imperfections, and Pores on the Wall Surface, making it an Ideal Base for Paint Application.
Wall Putty Application Process
Step 1: Surface Preparation
Before Applying Wall Putty, the Surface must be Properly Prepared:
Clean the Surface: Remove Dust, Dirt, Grease, and Loose Particles from the Wall using a Brush or Sandpaper.
Repair Damages: Fill any Cracks or Holes with a Suitable Filler and Smoothen the Surface.
Dampen the Wall: Lightly Dampen the Wall with Clean Water. This helps in Better Adhesion of the Wall Putty.
Step 2: Mixing Wall Putty
Proper Mixing is Crucial for the Application Process:
Take the Right Proportions: Mix Wall Putty Powder with Clean Water in a Ratio of 2:1 (Two Parts Putty and One Part Water).
Stir Thoroughly: Mix the Putty until a Uniform, Lump-free Paste is Obtained. Use a Mechanical Stirrer for Better Results.
Step 3: Applying the First Coat
The First Coat of Wall Putty lays the Foundation:
Use a Putty Knife or Trowel: Apply a Thin Layer of Wall Putty using a Putty Knife or Trowel. Start from the Bottom and Work your Way Up.
Ensure Even Spread: Spread the Putty Evenly across the Surface, Covering All Areas.
Allow to Dry: Let the First Coat Dry Completely. The Wall Putty Drying Time can vary Depending on the Humidity and Temperature but usually takes 6-8 Hours.
Step 4: Sanding the First Coat
Smoothening the Surface after the First Coat:
Sand the Surface: Once the First Coat is Dry, Sand the Surface Lightly using Fine-grit Sandpaper to Remove any High Spots or Imperfections.
Clean the Dust: Wipe off the Dust with a Clean Cloth or Brush.
Step 5: Applying the Second Coat
Achieving a Smooth Finish with the Second Coat:
Apply the Second Coat: Apply Another Thin Layer of Wall Putty in the Same Manner as the First Coat.
Ensure Uniform Thickness: Make sure the Second Coat is Even and Smooth.
Drying Time: Allow the Second Coat to Dry Completely, typically 6-8 Hours.
Step 6: Final Sanding and Cleaning
Preparing the Wall for Painting:
Final Sanding: Once the Second Coat is Dry, Sand the Surface Again for a Smooth Finish.
Clean the Surface: Remove all Sanding Dust from the Wall with a Clean Cloth.
Tips for Wall Putty Application
Ideal Conditions: Avoid Applying Wall Putty in Direct Sunlight or Extreme Weather Conditions.
Quality Tools: Use Good Quality Tools for Application and Sanding for the Best Results.
Patience: Allow Adequate Drying Time between Coats to Ensure a Durable Finish.
Frequently Asked Questions
How Long does Wall Putty take to Dry?
Wall Putty Drying time typically Ranges from 6 to 8 Hours, depending on the Environmental Conditions.
What is the Procedure for Applying Wall Putty?
The Procedure includes Surface Preparation, Mixing, Applying the First Coat, Sanding, Applying the Second Coat, and Final Sanding and Cleaning.
How do you Use Wall Putty for the Best Results?
Use the Right Proportions of Putty and water, Apply Evenly, and allow sufficient Drying Time between Coats.
Conclusion
When Done Correctly, the Wall Putty Application Process results in a Smooth and Flawless Surface Ready for Painting. It enhances the Aesthetic Appeal and Durability of the Paint. Follow this Step-by-Step Guide to ensure a Professional Finish for your Walls. For High-quality Wall Putty and Expert Advice, Trust Geoblocks to provide the Best Materials and Solutions for your Construction Needs.
By incorporating this comprehensive procedure, you can achieve the desired wall putty texture and finish, ensuring your walls look impeccable and ready for painting.


